Saliva is a convenient non-invasive sample source for applications involving DNA and other biological analyses. Proper collection and preservation are important for maintaining sample quality before laboratory testing.
This article shares full step‑by‑step operating instructions, sample storage tips, and product introduction for the Integrated Saliva Collection Kit.
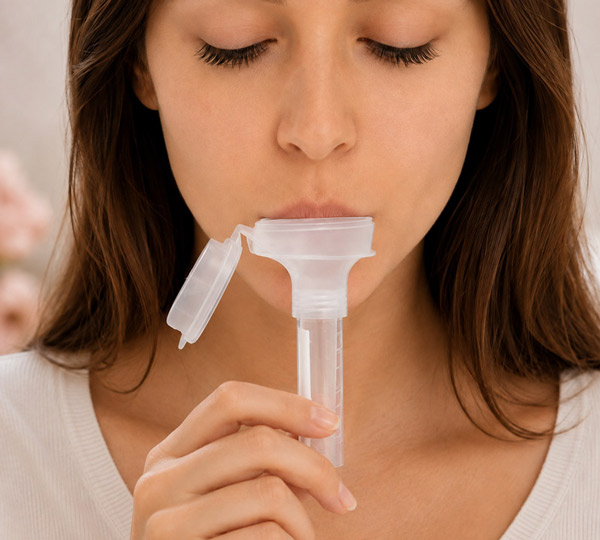
Integrated Saliva Collection Kit Instructions
Following the correct procedure helps ensure that an adequate saliva sample is collected and that the preservation solution is thoroughly mixed with the sample.
Step 1: Check the Saliva Collection Kit
Open the package and remove the integrated saliva collection kit.
Before use, check that all components are present and intact. Do not use the kit if any component appears damaged, leaking, or otherwise compromised.
Step 2: Collect the Saliva Sample
Before collecting saliva, prepare the oral cavity according to the kit instructions.
- Use your tongue to scrape the upper and lower jaws several times.
- Gently scrape your tongue with your teeth to help increase the number of shed cells in the saliva.
- Spit the saliva into the collection funnel.
- Continue collecting until the saliva level, excluding bubbles, reaches the 2 mL marked line on the collection tube.
Avoid deliberately adding unnecessary bubbles or other materials to the sample.
Reaching the specified collection volume is important because the preservation solution is designed to work with the recommended sample amount.
Step 3: Release the Preservation Solution
Once the required saliva volume has been collected, keep the collection tube in a vertical position.
Hold the collection tube with one hand and firmly press down the funnel cap with the other hand until it clicks into place.
Then:
- Lift the funnel cap.
- Press it down once again.
- Ensure that the preservation solution contained inside the cap flows completely into the collection tube.
This step allows the saliva sample to mix with the preservation solution for subsequent storage and testing.
Step 4: Remove the Collection Funnel
Keep the collection tube upright.
Gently twist the collection funnel and remove it from the collection tube.
Take care during removal to avoid spilling the collected saliva sample.
Step 5: Close and Mix the Sample
Screw the collection tube cap onto the tube and tighten it securely.
Next, invert the tube and gently shake it up and down 5–6 times.
This helps thoroughly mix the saliva sample with the preservation solution.
Once mixing is complete, the saliva sample collection process is finished.
What to Do After Saliva Collection
After completing the sampling procedure, the collected saliva specimen should be stored appropriately and sent for laboratory testing promptly.
According to the provided product instructions, saliva-derived DNA can be preserved:
- At room temperature: up to 15 days
- At 2–8°C under refrigeration: up to 3 months
Storage conditions and transportation requirements should always be consistent with the applicable product instructions and the testing laboratory’s requirements.
MEIDIKE GENE Integrated Saliva Collection Kit
MEIDIKE GENE provides saliva collection solutions designed for convenient sample collection and preservation.
The MEIDIKE GENE Integrated Saliva Collection Kit combines the collection and preservation steps into a practical sampling system, helping simplify the process for users and laboratories.
Explore the product: MEIDIKE GENE Integrated Saliva Collection Kit